Difference between revisions of "User detectors gallery"
Jump to navigation
Jump to search
| (8 intermediate revisions by 3 users not shown) | |||
| Line 1: | Line 1: | ||
<div> | <div> | ||
| − | <gallery mode=" | + | <gallery mode="packed-hover" widths=350px heights=300px> |
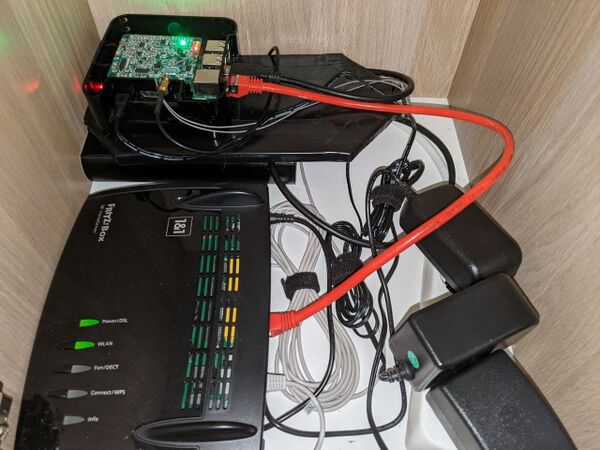
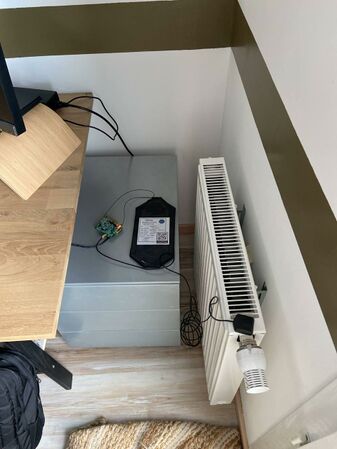
| − | Image:MuonPi-UserSetUp1.jpg|Users setup of the MuonPi detector next to the | + | Image:MuonPi-UserSetUp1.jpg|Users setup of the MuonPi detector next to the router. |
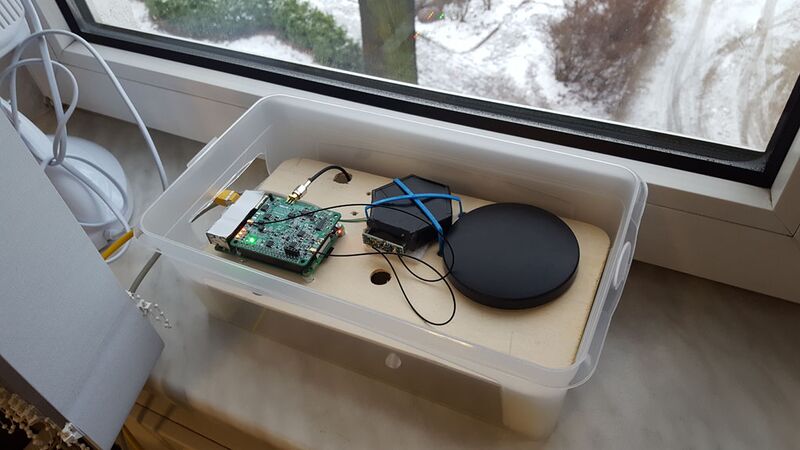
| − | + | Image:User detector dl4ina.jpg|User setup of DL4INA with single-channel connected hexagonal scintillator. | |
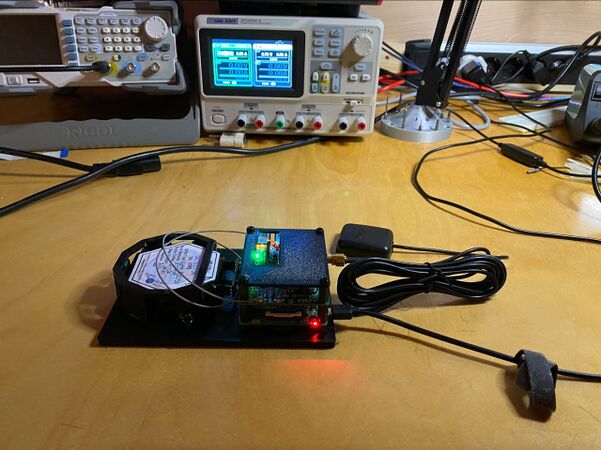
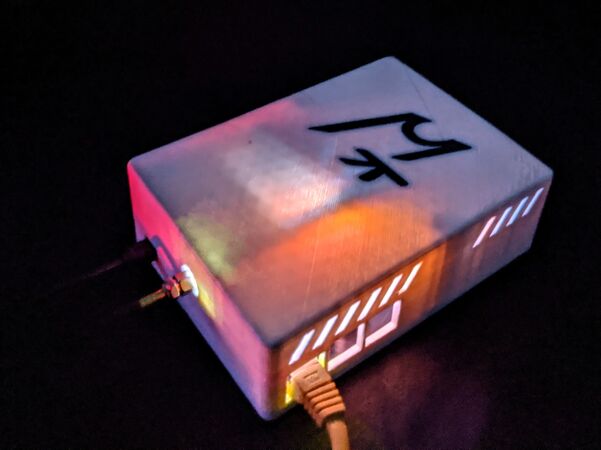
| + | Image:User_detector_slu.jpg| User setup of slu with custom 3D printed encasing | ||
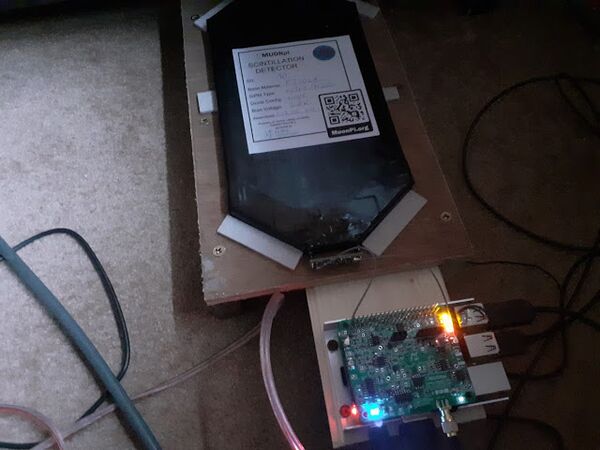
| + | Image:Detector_user_mw1cf.jpg| User setup of mw1cfwith, from his [https://mw1cfnradio.blogspot.com/2020/12/a-minor-departure-from-things-entirely.html blogpost] | ||
| + | Image:Detector_user_mmo.jpg| User setup of mmo with operating on a Raspberry Pi 0 WH | ||
| + | Image:MunoPi case in the dark.jpg| Custom enclosure for the complete detector setup. Including the Raspberry Pi, MuonPi HAT, and a hexagonal Scintillator. 3D Model was made by user 'slu' from the community. | ||
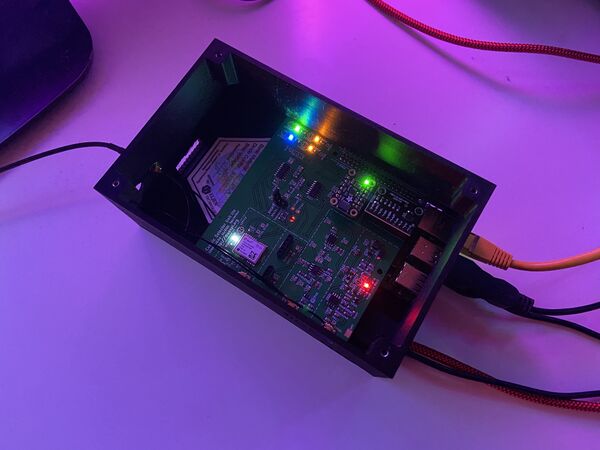
| + | Image:Detector-photo-phyronix.jpg| Detector with one of the first Lite-Boards in a 3d-printed case. User Phyronix12. | ||
</gallery> | </gallery> | ||
</div> | </div> | ||
Latest revision as of 23:37, 8 February 2022
User setup of mw1cfwith, from his blogpost
